Create A Coastal Gallery Wall
9th Sep 2022
A coastal gallery wall is a creatively arranged coastal-themed display of paintings, wall art, photographs, mirrors and/or clocks. Gallery walls have become very popular over the last decade and are a wonderful way to update a room! A well arranged wall can transform plain rooms and instantly bring personality and panache to your home. Create your own Coastal Gallery Wall with tips from our decorating experts at Cottage & Bungalow!
Creating a Coastal Gallery Wall
Step 1: Let the waves hit your feet, and the sand be your seat
We’re here to create a Coastal Gallery Wall so we have to start with thinking about the beach! Begin by collecting all your favorite coastal wall art – whether it’s a photograph of your footsteps on the sand or a painting of a gorgeous sunset. Make sure to select happy memories from your times at the beach with family and friends. Experiment with different types of wall art like Coastal Painted Fence Fish or Mermaid Wall Sculptures. Designer tip: Get quirky – how about some personalized flip flop wall art?
Step 2: Color me happy!
Coastal color themes can vary but often include shades of blue and green. Consider bringing these shades into your collection in combination with grays and beiges. Look for eclectic frames and wall art in these shades, some rustic, some contemporary. Have you looked at what else is in the room? Lamps like this Mini Scallop Shell Table Lamp and rugs like the Boardwalk Ivory Coral Rug with similar color and themes can bring the room together. Designer tip: Consider adding mirrors – they can add variety and make the room look bigger!

Step 3: Equal measures of art and personality
The most cumbersome yet important step is to measure the wall space. Lay out your entire collection on a flat surface leaving some space in between each piece. Adjust pieces, move them around, look at them again and re-adjust if needed. Replace what stands out from the rest or add more art if there are empty spaces. Designer tip: take a picture of your arrangements to see which one you like best.

Step 5: Hang on, almost done!
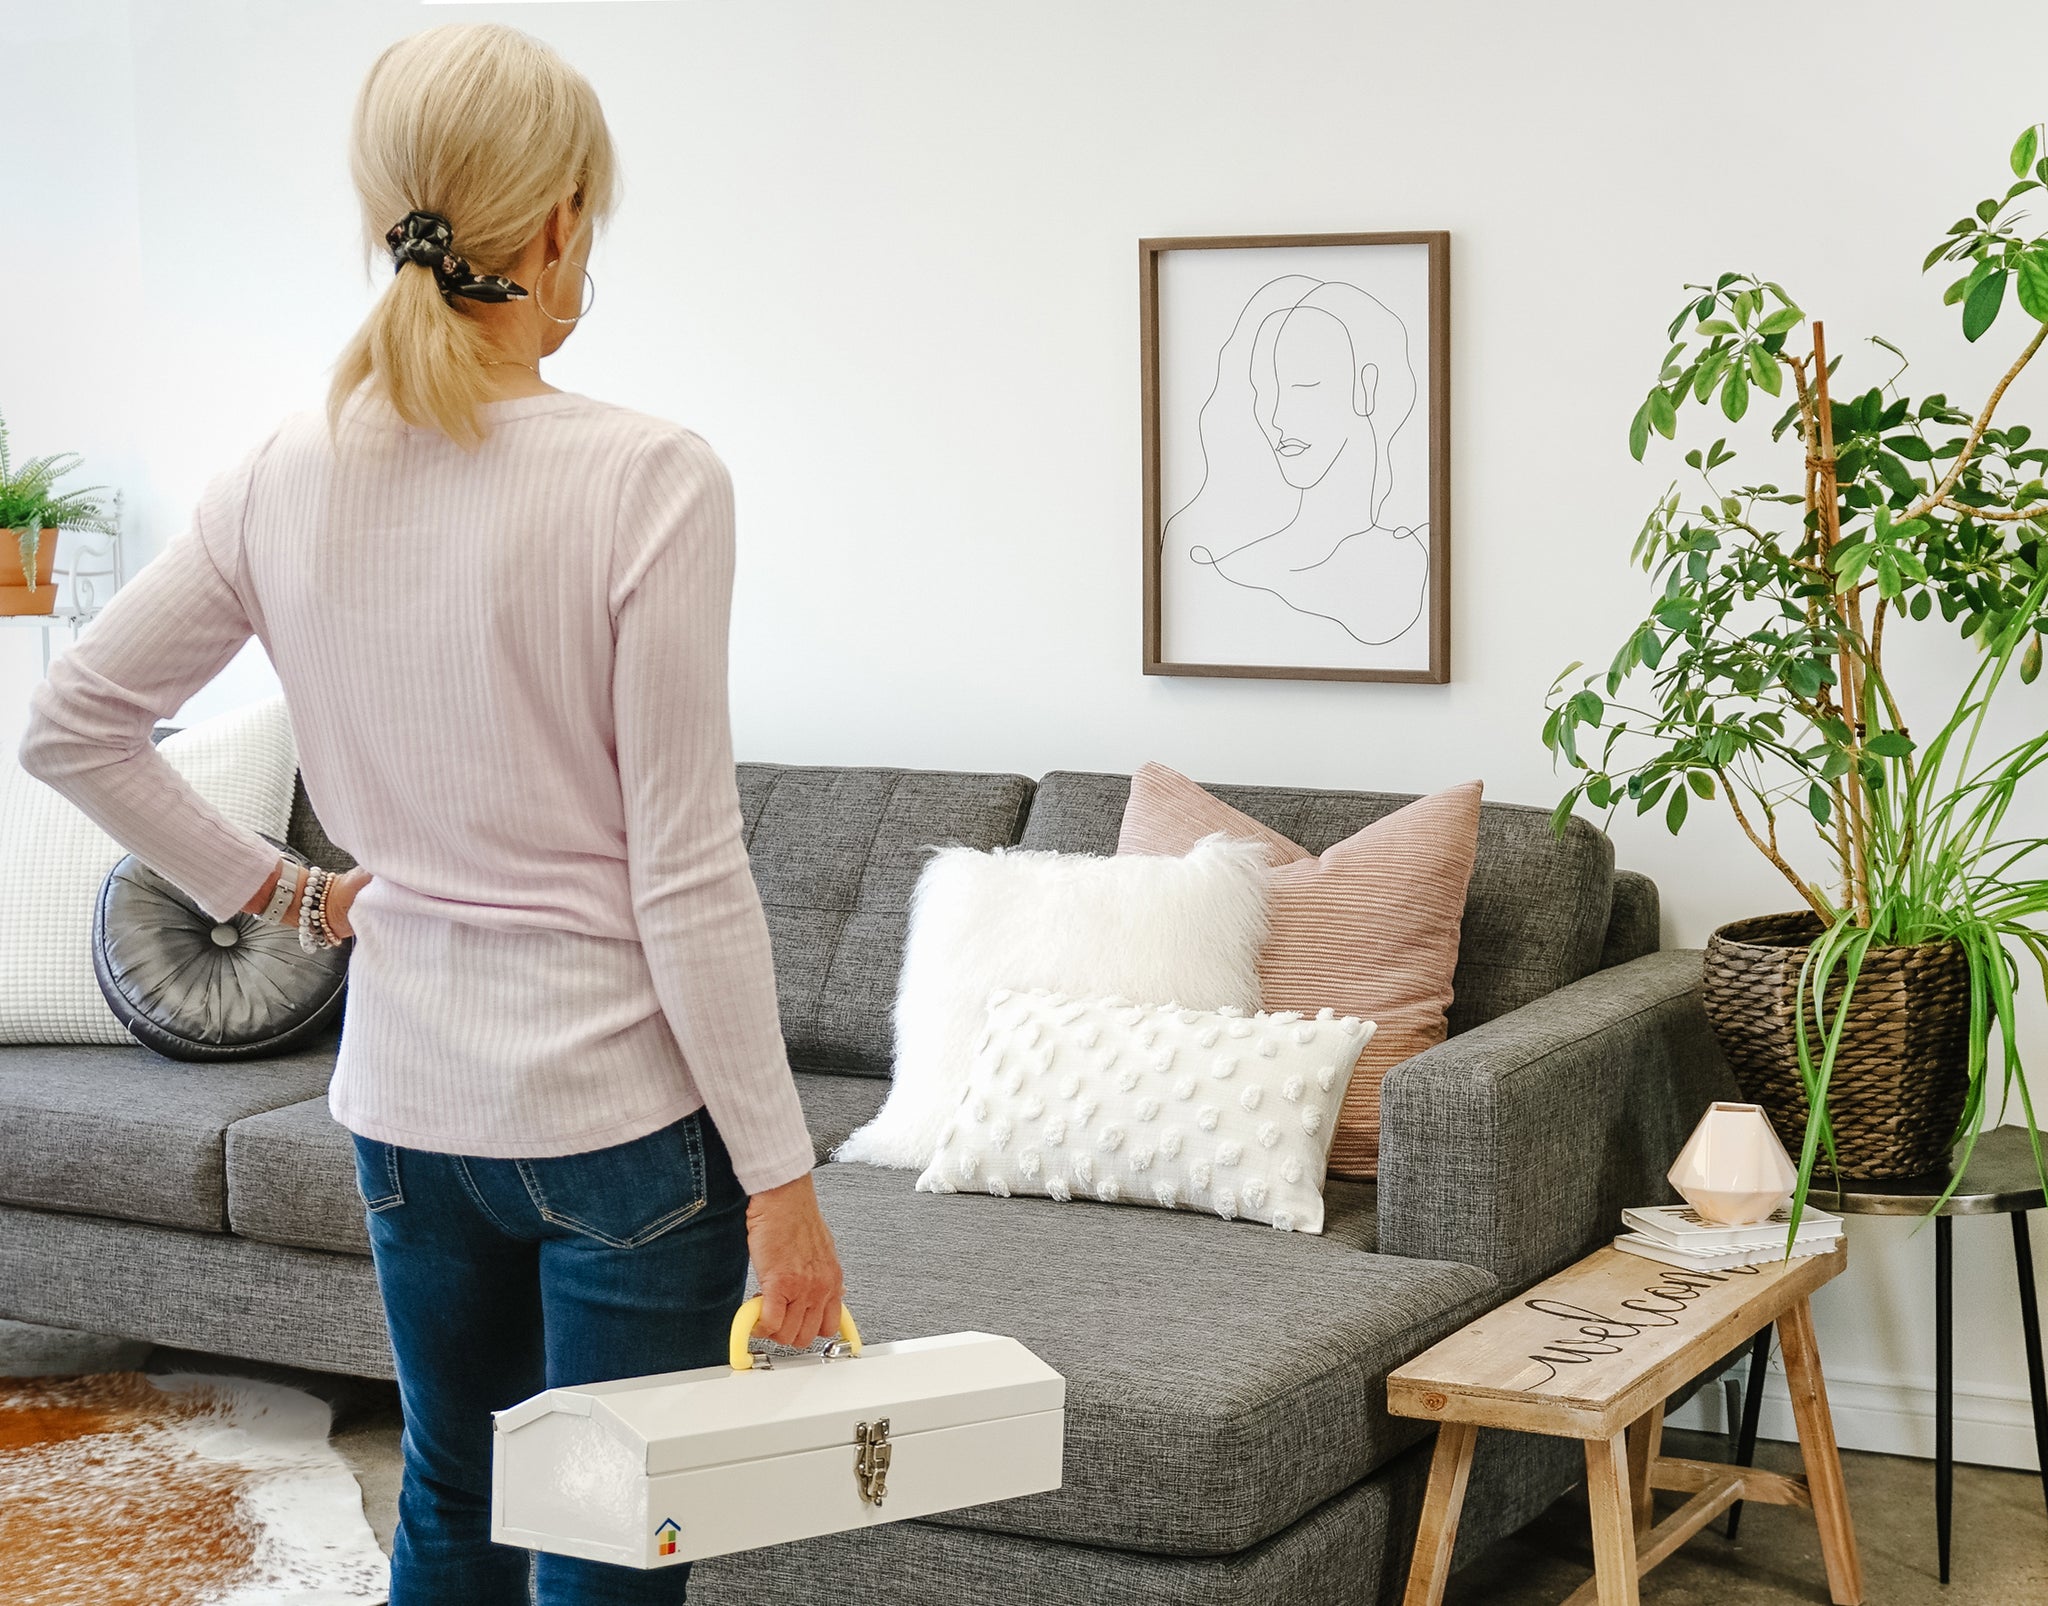
Bring out that toolbox – you’ll need nails, a hammer, painter’s tape, paper, pencil scissors and measuring tape. We highly recommend tracing out paper templates of each wall piece and taping them to the wall using painter’s tape. Move around the pieces as needed and make sure to look at the wall from 5 feet, then 10 feet away. Measure and mark your nail holes and hammer them into the wall. Designer tip: Picture hanging velcro is a fantastic tool to use when pulling a gallery wall together!
Step 6: Paradise found
Although creating a Coastal Gallery Wall can seem like an overwhelmingly daunting task, with some thought and planning, it can be a simple project that can completely transform a room. Try it out and let us know your experience! If you enjoyed reading this, you may also enjoy reading our post on Decorating Your Beach Condo with Personality.


